

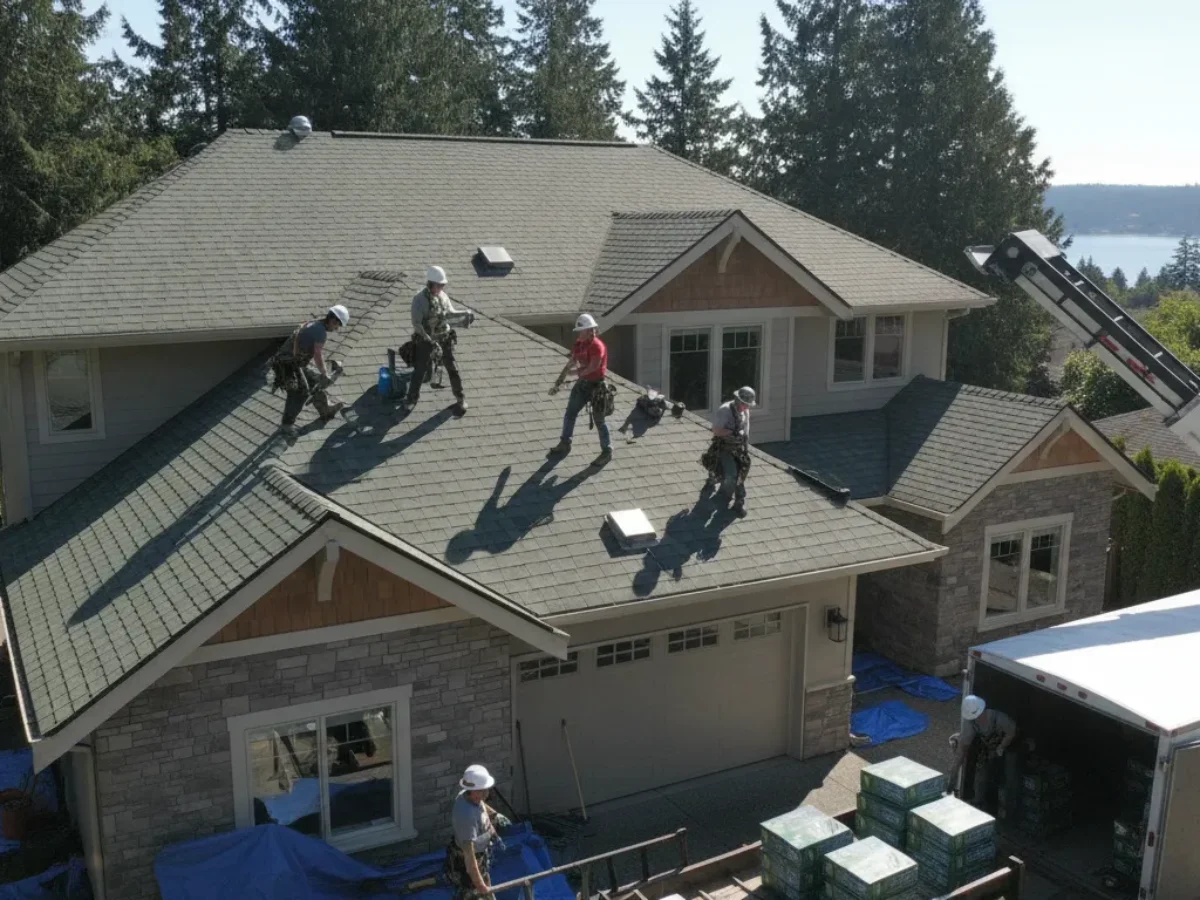
In the Pacific Northwest, a roof’s real work happens where you rarely see it: under the shingles and around every transition that rain tries to exploit. For Bellevue homes, a successful reroof or full roof replacement depends less on a color swatch and more on deck prep, attic ventilation, and flashing details at walls, valleys, and penetrations. This article focuses on practical, build-level decisions that help a new roof shed water reliably in a wet, wind-prone climate.
-
How Local Weather Reshapes a Replacement Roof
Frequent rain, wind-driven storms, and moss pressure change priorities in Bellevue, WA. Valleys concentrate runoff, low-slope sections hold water longer, and north-facing planes dry slowly. These conditions call for robust waterproofing where water collects: self-adhered ice-and-water membranes at eaves and valleys, high-quality synthetic underlayment across the field, and drip edge and rake metal that tie neatly into gutters. On steeper sections, a dependable shingle seal matters during shoulder seasons when temperatures dip and adhesives cure slowly.
Wind increases the chance of water being pushed sideways under laps and up against walls. That is why step flashing at sidewalls, kickout flashing at roof-to-wall terminations, and properly seated counterflashing on chimneys aren’t extras; they are core water-management parts of a replacement roof in this region.
-
Tear Off and Deck Preparation That Prevent Future Leaks
Overlaying new shingles on old ones is sometimes allowed, but a full tear-off usually performs better over time. Removing old materials exposes soft OSB or plywood, lets you replace cracked boards, and eliminates uneven bumps that keep shingle tabs from sealing. A flatter, securely fastened deck helps architectural shingles lie tight and resist uplift. Corrosion-resistant, ring-shank nails improve holding power in wet climates, and installing starter shingles at the eaves creates a clean first course that resists wind entry.
Homes that began life with cedar shake often have skip sheathing, which leaves open gaps between boards. Converting to composition shingles requires adding solid decking first. This extra step stabilizes the nailing surface and keeps underlayment from ballooning between boards. Before installing underlayment, ensure all edges receive drip metal, gutter interfaces are squared, and vulnerable transitions are planned. A thoughtfuldry-inn with cap-nailed synthetic underlayment and peel-and-stick membrane at valleys keeps the house protected if weather shifts mid-project.
-
Ventilation Paths That Keep the Attic Dry
In a replacement, attic ventilation is not an accessory; it is a system choice that protects both framing and shingles. You need intake at the soffits and an unobstructed path to exhaust at the ridge vent or dedicated roof vents. Installing baffles, also called rafter vents, keeps insulation from choking the soffits, and aligning the ridge vent with continuous soffit intake completes the airflow path. Good ventilation reduces winter condensation on the underside of the deck and lowers summer deck temperatures, both of which support shingle longevity.
A common mistake is mixing systems. Combining a powered attic fan with a ridge vent can short-circuit airflow, pulling outdoor air from the ridge instead of the soffits and leaving corners stagnant. Another common oversight is dumping bathroom or laundry exhaust into the attic instead of venting it outdoors through a roof cap. Moist air trapped under a new roof can mimic a leak by wetting the deck from the inside, so duct terminations deserve as much attention as shingles.
-
Flashing Details That Stop Water Where It Concentrates
Flashing is where many reroofs are won or lost. At sidewalls, new step flashing should interleave with each shingle course, not simply be caulked to the siding. Where a roof meets a vertical wall near the eave, a kickout flashing directs water into the gutter instead of behind the siding. Chimneys usually need a two-part solution: step or apron flashing at the base and counterflashing that’s cut into the masonry, plus a small cricket on the upslope side to split heavy runoff.
Valleys deserve a plan. Open valleys with prefinished metal shed debris and move water quickly; closed cut valleys offer a cleaner look but must be cut carefully to avoid water following a shingle seam. Pipe penetrations should use durable boots sized to the pipe, with sealant used as a secondary measure rather than the primary defense. Selecting nonreactive metals and fasteners for flashings and drip edges minimizes corrosion, which is especially valuable around skylight curbs, where ponding and UV exposure can shorten the life of weaker components.
-
Material and Layout Choices for Common Bellevue Roof Scenarios
Scenario one: a 1970s split level originally built with cedar shake. Replacing that roof with architectural asphalt shingles starts with adding solid plywood or OSB over skip sheathing, then a synthetic underlayment, and self-adhered membrane in valleys and around the chimney. A continuous ridge vent paired with open soffits improves drying on shady planes that hold moss longer. Here, the trade-off is clear: more time and material upfront versus a flatter, stronger deck that properly accepts modern shingles and hardware.
Scenario two: a bungalow with a low slope porch tying into a steeper main roof. Low-slope sections often need a different approach, such as a self-adhered or modified bitumen membrane, because standard shingles can back up water under a 3:12 pitch. At the transition, metal saddles and carefully overlapped membranes create a watertight bridge to the shingle field. If standing seam metal is selected for a portion, plan for snow and water movement, adding snow guards as needed and ensuring eave edges feed cleanly into gutters to prevent overshoot in heavy rain.
Scheduling and Weather Windows During a Reroof
In a rainy climate, staging a roof replacement around weather windows protects the home and the crew. Crews typically “dry in” the same day they tear off a section by installing underlayment and sealing vulnerable zones before wrap-up. On cool days, shingle seal strips may take longer to bond; careful nailing and clean starter courses matter even more until heat and time do the rest. Protecting landscaping with breathable tarps, planning dumpster placement to avoid damaging driveways, and keeping gutters clear during the job all reduce collateral issues.
After installation, a practical follow-up is a quick attic check after the first good storm. Check around penetrations and valley lines for signs of moisture, verify that bathroom ducts still terminate outdoors, and confirm soffit baffles remain clear. Outdoors, confirm kickout flashings channel water into gutters and ridge caps are seated evenly. These small checks help a new roof transition from “freshly installed” to “proven” in the real weather it was built to handle.
A roof replacement in a wet, wind-affected market is built on fundamentals: a sound deck, a reliable dry-in, balanced ventilation, and meticulous flashing. Choices like open metal valleys versus closed cuts, self-adhered membranes at key lines, and continuous intake and exhaust ventilation aren’t cosmetic; they shape how well the roof sheds water for years—focusing on these details before the first shingle is nailed turns re-roofing into a durable weather system for your home.
 Blitz Blitz